
Avowed Camera Settings: Perspective, FOV and Motion
Avowed offers third-person view, adjustable FOV and camera-motion options. Use a simple comparison routine to find a setup that feels clearer.
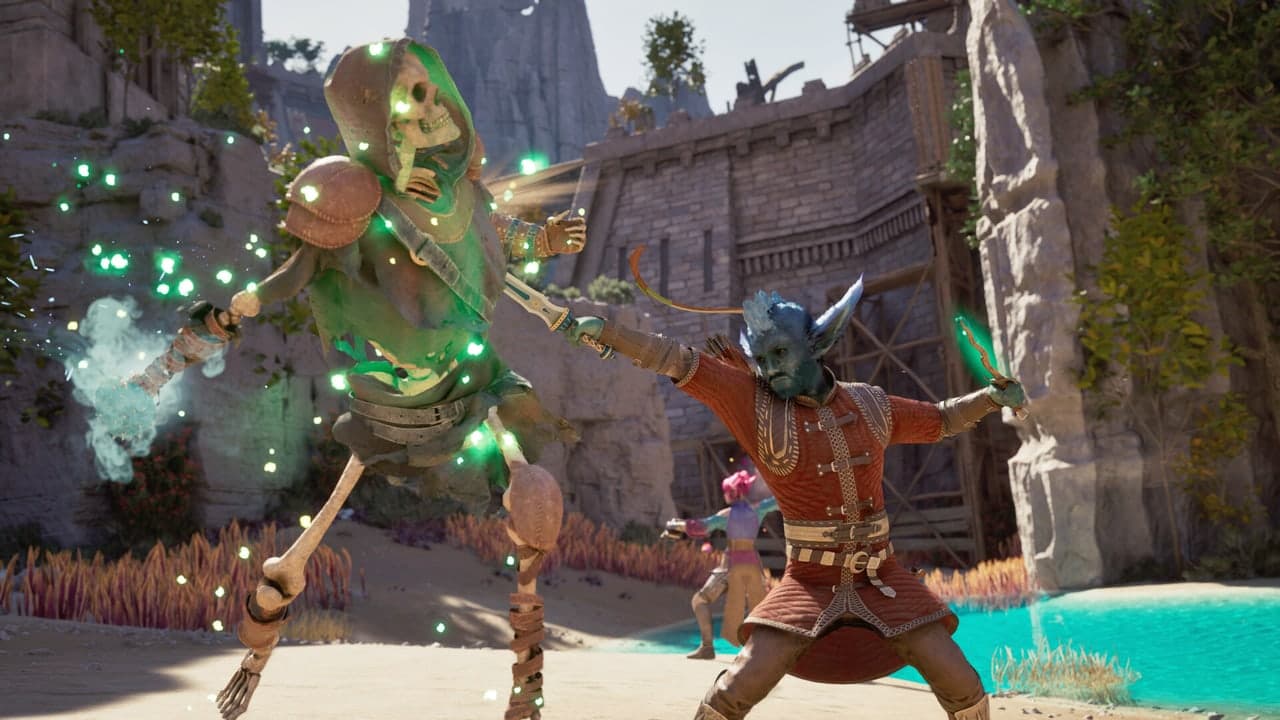
01 / Start with the camera behaviour you want to change
Start with the camera behaviour you want to change
Avowed offers a third-person view, an adjustable field of view, camera-shake control, a head-bobbing toggle and camera-sway adjustment. Obsidian also documents adjustable input sensitivity and text sizes. These controls address different aspects of the picture, so changing everything at once can make the result harder to judge.
Our recommendation is to separate three questions: where is the camera, how much does it show, and how much does it move without a deliberate turn? There is no single number that answers all three.
02 / Match the option to the behaviour
Match the option to the behaviour
Perspective
First-person or third-person viewChoose whether you prefer viewing the world directly or keeping your character visible. This is the starting composition, not a difficulty setting.
Field of view
How much of the scene fits on screenCompare visibility with the apparent size of things you need to recognise. Wider is not automatically better for every screen and viewing distance.
Head bob and camera sway
Movement layered onto the viewTry reducing unwanted movement if you want the picture to feel steadier while travelling.
Camera shake
Impact-related movementCompare a familiar action with the option changed. Do not confuse a stronger visual effect with clearer information.
Input sensitivity
Your deliberate camera movementAdjust this separately from automatic effects. The aim is predictable turning with the device you actually use.
03 / A short routine for comparing settings
A short routine for comparing settings
- 01
Record the starting values
Take a settings screenshot or note the current values so you can undo an experiment without guessing.
- 02
Choose the perspective first
Use a familiar location and compare how easily you recognise your surroundings. Keep your display and seating position unchanged.
- 03
Reduce one source of extra motion
Try one camera-motion option, then walk and turn normally. Decide whether you prefer the result before changing another control.
- 04
Adjust FOV and sensitivity separately
Make small changes and repeat the same simple actions. Avoid copying a whole preset when you do not know which part of it helps.
- 05
Check readability
Look at nearby objects, the interface and subtitles. A view that feels spacious still needs to show the details you rely on.
04 / Why we do not prescribe a universal FOV value
Why we do not prescribe a universal FOV value
A desktop monitor close to your face and a television across a room are different viewing setups. An online recommendation can be a starting point, but it does not know how large the image appears to you or which details you struggle to follow.
Judge a change against a named objective. 'I want to notice the doorway while turning' is testable during ordinary play. 'I want the best FOV' is not specific enough to tell you when you are finished adjusting it. Keep the setup that serves the first question, even if it differs from a popular preset.
06 / Our recommendation
Our recommendation
Choose the perspective you can read most naturally, reduce camera movement you do not want, and then refine FOV and sensitivity one at a time. Stop tweaking when normal exploration and combat feel understandable. The useful result is a repeatable personal setup, not agreement with somebody else's numbers.